How to Build a Tiling Portfolio From Scratch
.jpg)
When you are new to tiling, one of the first questions you will face from potential customers is: can I see some of your previous work? It is a perfectly reasonable thing to ask. And if you have just completed your training and have not yet taken on paid jobs, it can feel like a bit of a catch-22.
The good news is that building a portfolio does not require years of experience or a long list of past clients. You just need to be deliberate about it from the start.
Why a Portfolio Matters
A portfolio does one thing above all else: it builds trust. Customers cannot see inside your head. They do not know what your standards are like, whether you are careful, or whether you can handle the type of job they need. A portfolio shows them, rather than just telling them.
For a tiler just starting out, having even a small collection of well-photographed work puts you ahead of someone who has nothing to show at all. Customers would rather see five good photos than none.
Start With Your Training Work
If you have completed a tiling course, you will have produced real work during your training. That counts. Take photos of everything you tile during your course, including wall tiles, floor tiles, cuts around obstacles, patterns and any specialist work.
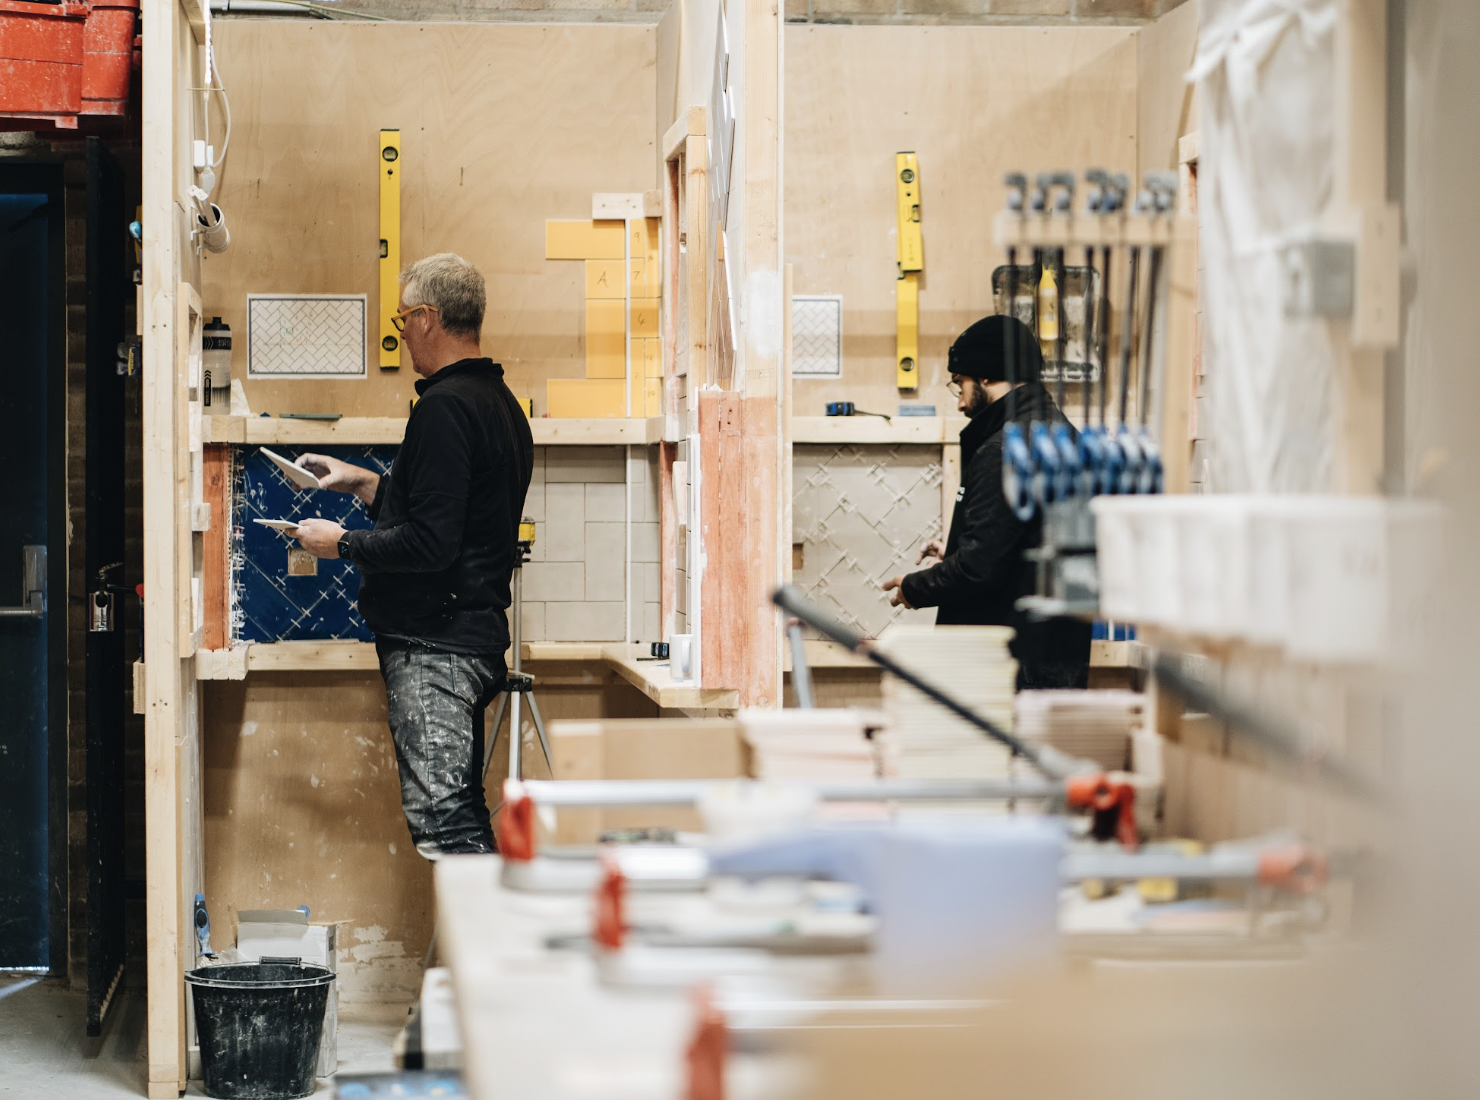
Good training centres will have well-lit, purpose-built bays that are actually great for photography. Use that to your advantage.
You do not need to label training photos as such in every context, but be honest if a customer directly asks. Most people understand that everyone has to start somewhere, and the quality of the work will speak for itself.
Do Some Work for Friends and Family
Offering a reduced rate or a free job for a friend or family member is one of the most common ways new tilers start building a real-world portfolio. Pick a job that will photograph well, such as a bathroom floor, a kitchen splashback, or a shower enclosure.
A few things to keep in mind:
Do the job to exactly the same standard you would for any paying customer. This is not practice work; it is portfolio work and potentially the foundation of a word-of-mouth recommendation.
Take photos before, during and after. The transformation from preparation to finished result can be very powerful.
Ask if they are happy to leave you a review or a short written testimonial. Even at the start of your career, social proof goes a long way.
How to Photograph Your Work
You do not need expensive camera equipment. A modern smartphone is more than capable of producing photos that look great online. What matters is how you take the shot.
- Clean the area before you photograph it. Dust, adhesive residue and grout haze will all show up in photos. Take the time to get the space looking its best.
- Use natural light where possible. Open windows and blinds before shooting. Avoid using the flash as it tends to flatten the image and create hotspots.
- Shoot straight on and from angles. A straight-on shot shows the pattern and alignment clearly. An angled shot adds depth and shows the space in context.
- Get close-up shots too. Include shots of neat grout lines, precise cuts around sockets or pipes, or a tidy border show the level of care you put into a job. These are often the most persuasive photos for someone who knows what quality tiling looks like.
- Focus on the tricky bits. Cuts around awkward shapes, mitred edges, or a difficult corner are worth capturing. They show technical ability.
Take far more photos than you think you need. You can always edit the selection down, but you cannot go back and reshoot a job once the customer has moved their furniture back in.
Organise Your Portfolio
Once you have a collection of photos, you need somewhere to show them. A few options:
Your own website. Even a simple one-page site with a gallery, a brief description of the work you offer, and contact details is enough to look professional. It also helps with being found online.
Social media. Instagram in particular suits this kind of work well. Before and after photos do well, and a consistent habit of posting your finished jobs builds a following over time. Facebook is also worth maintaining as many customers, particularly homeowners, still use it to find local tradespeople.
Trade directories. Sites like Checkatrade, MyBuilder and Rated People allow you to display photos alongside your profile and reviews. Getting set up on these early is worth doing.
A simple PDF or digital album. Some tilers keep a digital gallery on their phone that they can show to customers when quoting a job in person. It does not need to be elaborate; a clean folder of your best ten to fifteen photos works perfectly.
Build as You Go
Every job is an opportunity to add to your portfolio. Get into the habit of photographing your work on every single job, not just the early ones. As your experience grows, you will accumulate a wide range of examples covering different tile types, room sizes, patterns and substrates.
Over time you can become selective, keeping only your best and most varied work. But in the early months, the priority is simply to capture everything.
Ask for Reviews Alongside Your Photos
A portfolio of photos is stronger when it is backed up by genuine customer reviews. After every completed job, get into the habit of asking the customer to leave you a review on Google, Checkatrade or whichever platform you are using. A simple, direct ask at the end of a job is usually all it takes.
Photos show what your work looks like. Reviews tell potential customers what it is like to work with you. Both matter.
A Word on Honesty
Do not use photos of other people's work. It might seem tempting when you are just starting out and your portfolio is thin, but customers who later see the real thing will quickly realise something does not add up, which is an easy way to gain negative reviews. Build your portfolio on work you have actually done, and it will grow faster than you expect.
The Bigger Picture
A good portfolio is not something you build once and leave alone. It grows with you. The photos you take in your first month of trading will probably be replaced by better ones within a year. That is exactly how it should work.
The most important thing is to start. Take photos from your very first job, stay consistent, and let the quality of your work do the talking.
If you are at the beginning of your tiling journey and want to make sure the work in your portfolio is genuinely good, that starts with proper training. Take a look at our https://www.uktilingcourses.co.uk/tiling-courses or get in touch if you have any questions.
Find the perfect course for you
Whether you're just getting started, or have a few years in the construction industry under your belt and are looking to up-skill yourself, we have a course for everyone.