How to Prepare a Chipboard Floor for Tiling
Tiling onto chipboard is one of the biggest areas where beginners often run into trouble.
The tiles might look fine on day one, which can make it a little harder to judge without the experience a tiling course brings. A few weeks later the grout cracks, tiles sound hollow, or the floor starts to move.
That usually comes down to one thing. The floor was not prepared properly.
Chipboard is not the same as concrete or cement board. It moves, absorbs moisture, and can swell. If you tile straight onto it without the correct preparation, you are taking a risk.
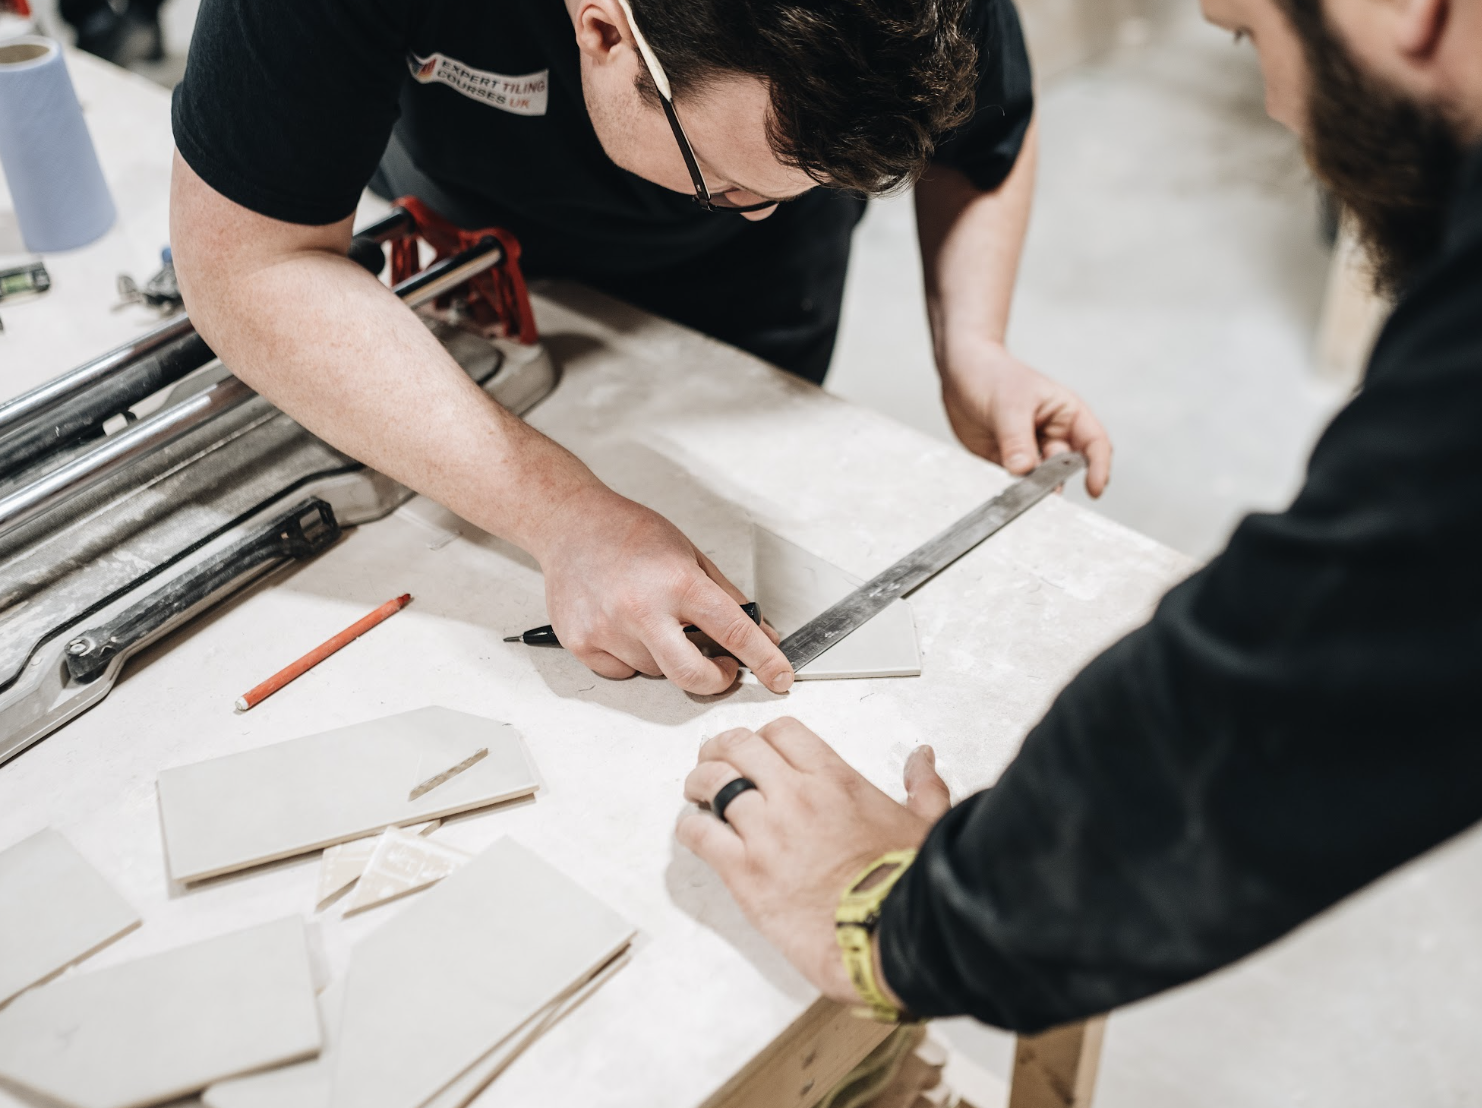
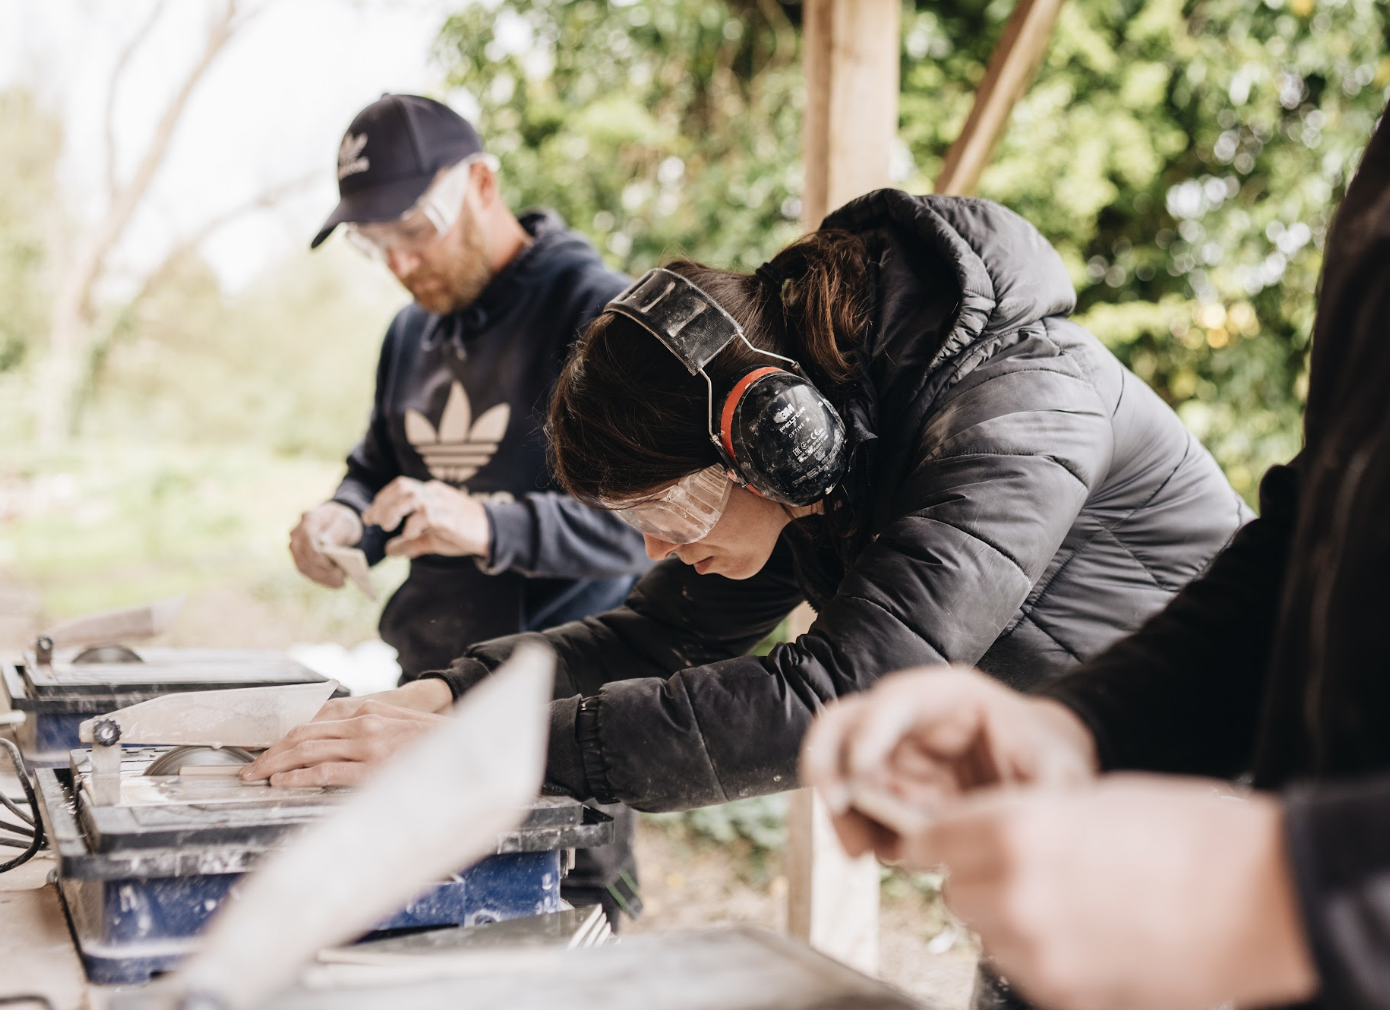
While attending one of our courses is the best way to learn how to do this properly, here are a few basic tips:
First Question. Should You Tile Directly Onto Chipboard?
In short, no.
Even moisture resistant chipboard is not an ideal tiling surface. It expands and contracts with changes in temperature and humidity. Tiles and grout do not like movement.
Professional tilers will almost always install a tile backer board or use a suitable decoupling system before tiling.
Think of chipboard as a structural layer, not a finished tiling surface.
Step 1. Check the Floor Structure
Before you even think about adhesives or boards, check the strength of the floor.
Walk across the room and look for:
- Bouncing or flexing
- Creaking
- Loose sheets
- Damaged or swollen areas
Tiles need a solid, stable base. If the floor flexes, the tiles will eventually crack.
Make sure the chipboard sheets are securely fixed to the joists. If necessary, add extra screws at 150 to 200mm centres along joists to stiffen the floor.
Any damaged sections should be cut out and replaced. Do not tile over swollen or water damaged chipboard.
Step 2. Check the Thickness
Standard chipboard flooring in UK homes is often 18mm or 22mm thick.
For tiling, 22mm chipboard fixed securely to joists at correct centres is far more suitable. Thinner boards increase the risk of flex.
If the floor feels weak, you may need to overboard it with plywood before installing a tile backer board, or strengthen the joists.
Structure matters. No adhesive or grout can compensate for movement underneath.
Step 3. Clean the Surface Properly
Once you are confident the floor is structurally sound, clean it thoroughly.
Remove:
- Dust
- Plaster droppings
- Paint
- Adhesive residue
- Grease or contaminants
Vacuum the surface. Do not just sweep it.
Adhesives and boards need a clean surface to bond correctly.
Step 4. Install a Tile Backer Board
This is the key step.
You should never tile directly onto the chipboard. Instead, install a cement based tile backer board across the entire floor.
These boards:
- Provide a stable surface for tiles
- Reduce movement transfer
- Improve adhesion
- Offer better moisture resistance
Cut the boards to size and lay them in a staggered brick bond pattern, avoiding lining joints up with the chipboard joints underneath.
Fix them down using a suitable flexible tile adhesive underneath and mechanical fixings such as corrosion resistant screws and washers.
The adhesive removes voids. The screws provide strength.
Make sure all boards are firmly fixed with no rocking or gaps underneath.
Step 5. Tape the Joints
Once the boards are installed, tape the joints with alkaline resistant mesh tape.
Then skim over the tape with a thin layer of flexible adhesive.
This ties the boards together and prevents movement at the seams.
What About Plywood Instead?
Some tilers use exterior grade plywood instead of tile backer boards. This is advised against.
If you go down this route, it must be:
- Exterior grade marine ply
- At least 12mm thick
- Properly screwed at close centres
- Fully sealed
However, plywood is still a timber product. It expands and contracts. Cement based backer boards are generally more stable and preferred for floors.
For beginners especially, backer boards are usually the safer option.
Do You Need to Prime?
If you are tiling onto cement based backer board, priming is often required before applying adhesive. Always follow the adhesive manufacturer’s instructions.
Primers improve adhesion and control suction. Skipping this step can lead to failure.
Choosing the Right Adhesive
When tiling over chipboard that has been prepared with a backer board, always use a flexible cement based tile adhesive.
Flexibility is important because timber floors can still experience slight seasonal movement.
Never use ready mixed tub adhesive on floors. It is not suitable for this type of application.
Flexible adhesive and flexible grout give you a bit of tolerance in the system.
Common Mistakes to Avoid
- Tiling directly onto chipboard without reinforcement
- Using non flexible adhesive
- Not fixing boards securely enough
- Ignoring floor movement
- Tiling over water damaged areas
Most failed chipboard tiling jobs come back to these issues.
Bathrooms and Wet Areas
In bathrooms, moisture is an even bigger concern.
Chipboard can swell if water gets through failed grout or silicone.
Using cement based backer boards and properly sealing wet areas significantly reduces the risk.
In shower areas especially, consider full waterproofing systems before tiling.
To summarise:
Preparation is not just about strength. It is about long term durability.
Tiles are rigid. Timber is not.
Your job is to separate those two materials in a way that controls movement.
That is why preparation matters more than the tiles themselves.
If the base is right, tiling becomes straightforward. If the base is wrong, even perfectly laid tiles can fail.
A Simple Checklist
To prepare a chipboard floor for tiling:
- Check the structure and remove movement.
- Secure all boards firmly to joists.
- Replace any damaged sections.
- Clean the surface thoroughly.
- Install cement based tile backer boards with adhesive and fixings.
- Tape and reinforce joints.
- Prime if required.
- Use flexible cement based adhesive and grout.
Take your time on the preparation. It is not the most exciting part of the job, but it is the most important.
If you treat chipboard correctly and build a stable system on top of it, your tiled floor will last for years without cracking or coming loose.
Find the perfect course for you
Whether you're just getting started, or have a few years in the construction industry under your belt and are looking to up-skill yourself, we have a course for everyone.