How to Regrout Tiles

How to Regrout Tiles
Grout does more than just fill the gaps between tiles. It keeps moisture out, holds everything in place and plays a big part in how your tiles look. Over time though, grout can crack, discolour or start to crumble. When that happens, regrouting is one of the simplest ways to freshen up a kitchen or bathroom without replacing the tiles themselves.
If you have never done it before, it might seem like a job best left to a professional. In reality, it is something most people can handle with a bit of patience and the right approach.
Below we will look at how to regrout tiles step by step, so you can tackle the job with confidence.
When Do Tiles Need Regrouting?
Before you start, it is worth knowing whether regrouting is actually needed.
Common signs include:
- Cracked or missing grout
- Grout that has become dark or stained beyond cleaning
- Loose or powdery grout lines
- Damp patches or mould that keeps coming back
If the tiles themselves are still in good condition, regrouting can make a huge difference both visually and practically.
Tools and Materials You Will Need
You do not need a huge toolkit, but having the right items makes the job much easier.
You will need:
- Grout removal tool or grout rake
- New grout
- Grout float or rubber spreader
- Sponge and bucket of clean water
- Cloth or towel
- Vacuum or brush
- Protective gloves
For larger areas or tougher grout, some people use electric grout removal tools, but for most jobs a manual tool is perfectly fine.
Step 1: Remove the Old Grout
This is the most important part of the process. New grout will not stick properly if the old grout is still in place.
Use your grout removal tool to carefully scrape out the existing grout between the tiles. Work slowly and keep the tool centred in the joint to avoid damaging the tile edges.
Aim to remove at least 2 to 3mm of depth. If the grout is already loose, it may come out easily. If it is harder, take your time rather than forcing it.
Once all the grout is removed, clear away the dust and debris using a vacuum or brush. The joints should be clean and ready for the new grout.
Step 2: Prepare the Area
Before applying new grout, make sure the tiles are clean and dry.
Wipe the surface with a damp cloth to remove any remaining dust, then allow it to dry fully. Any loose debris left in the joints can affect how well the new grout bonds.
If you are working in a bathroom or kitchen, make sure the area is well ventilated.
Step 3: Mix the Grout
Follow the instructions on your grout packaging. Most grout comes as a powder that needs to be mixed with water.
You are aiming for a smooth, paste-like consistency. It should not be too runny, but also not so thick that it is difficult to spread.
Mix small amounts at a time, especially if you are new to this. Grout can begin to set fairly quickly, so it is better to work in manageable sections.
Step 4: Apply the New Grout
Using a grout float or rubber spreader, press the grout into the joints between the tiles. Work diagonally across the tiles to push the grout firmly into the gaps.
Make sure all joints are fully filled, with no air pockets. Once the joints are packed, use the float to remove excess grout from the tile surface.
Do not worry about getting everything perfectly clean at this stage. That comes next.
Step 5: Clean the Tiles
After about 10 to 20 minutes, the grout will begin to firm up. At this point, use a damp sponge to wipe the surface of the tiles.
Rinse the sponge regularly and avoid using too much water. The goal is to remove excess grout from the tile faces without pulling grout out of the joints.
You may need to go over the area a few times to get a clean finish. A light haze may still remain at this stage, which is normal.
Step 6: Final Buff and Finish
Once the grout has set further, usually after a few hours, you can buff the tiles with a dry cloth to remove any remaining haze.
At this point, check the joints for consistency. If any areas look uneven or low, they can be touched up before the grout fully cures.
Step 7: Let It Cure Properly
Grout needs time to fully harden. This can take anywhere from 24 to 48 hours depending on the product.
Avoid getting the area wet during this time. Once cured, the grout will be strong, stable and ready for regular use.
Tips for a Better Finish
A few small details can make a big difference to the final result:
- Work in small sections rather than trying to do everything at once
- Keep your sponge clean to avoid smearing grout
- Do not rush the removal stage as it affects everything that follows
- Choose a grout colour that suits your tiles and space
Taking your time is often the difference between an average finish and a professional-looking one.
Common Mistakes to Avoid
One of the most common mistakes is not removing enough of the old grout. This leads to weak joints and poor adhesion.
Another is using too much water when cleaning, which can wash out the grout and weaken it. A damp sponge is all you need.
Rushing the process is also a common issue. Allowing proper drying time between steps gives you a much better result.
Is It Worth Doing Yourself?
For many people, regrouting is a manageable DIY task. It is time-consuming rather than technically difficult. With patience and attention to detail, you can achieve a clean and durable finish.
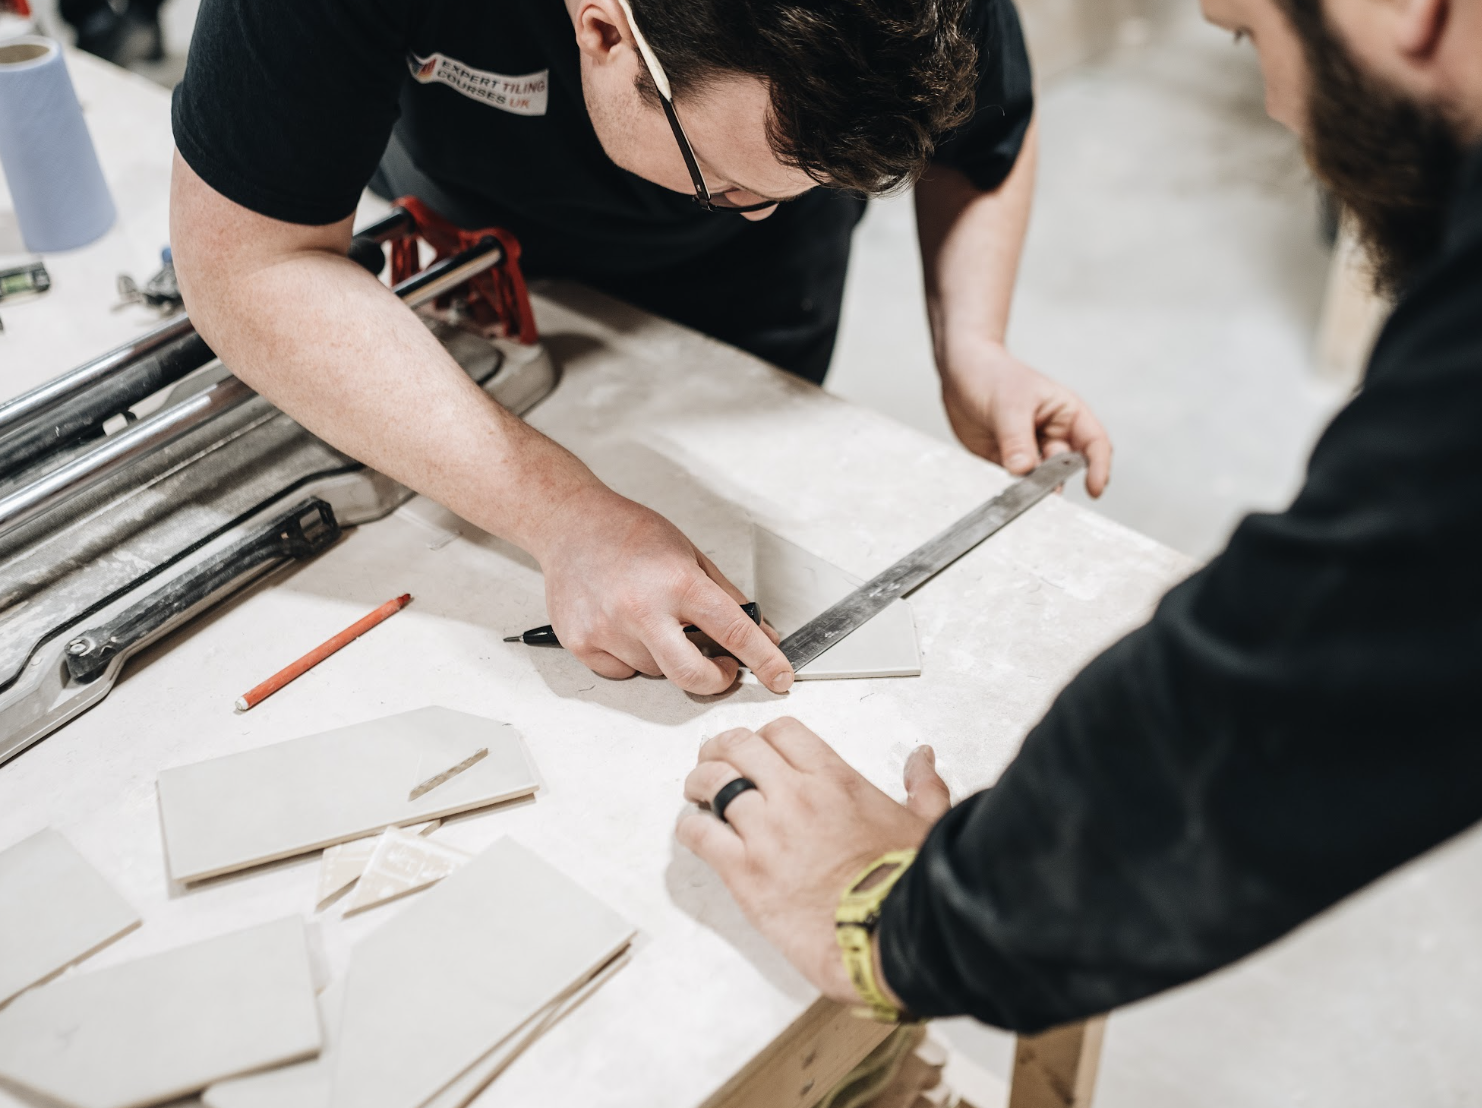
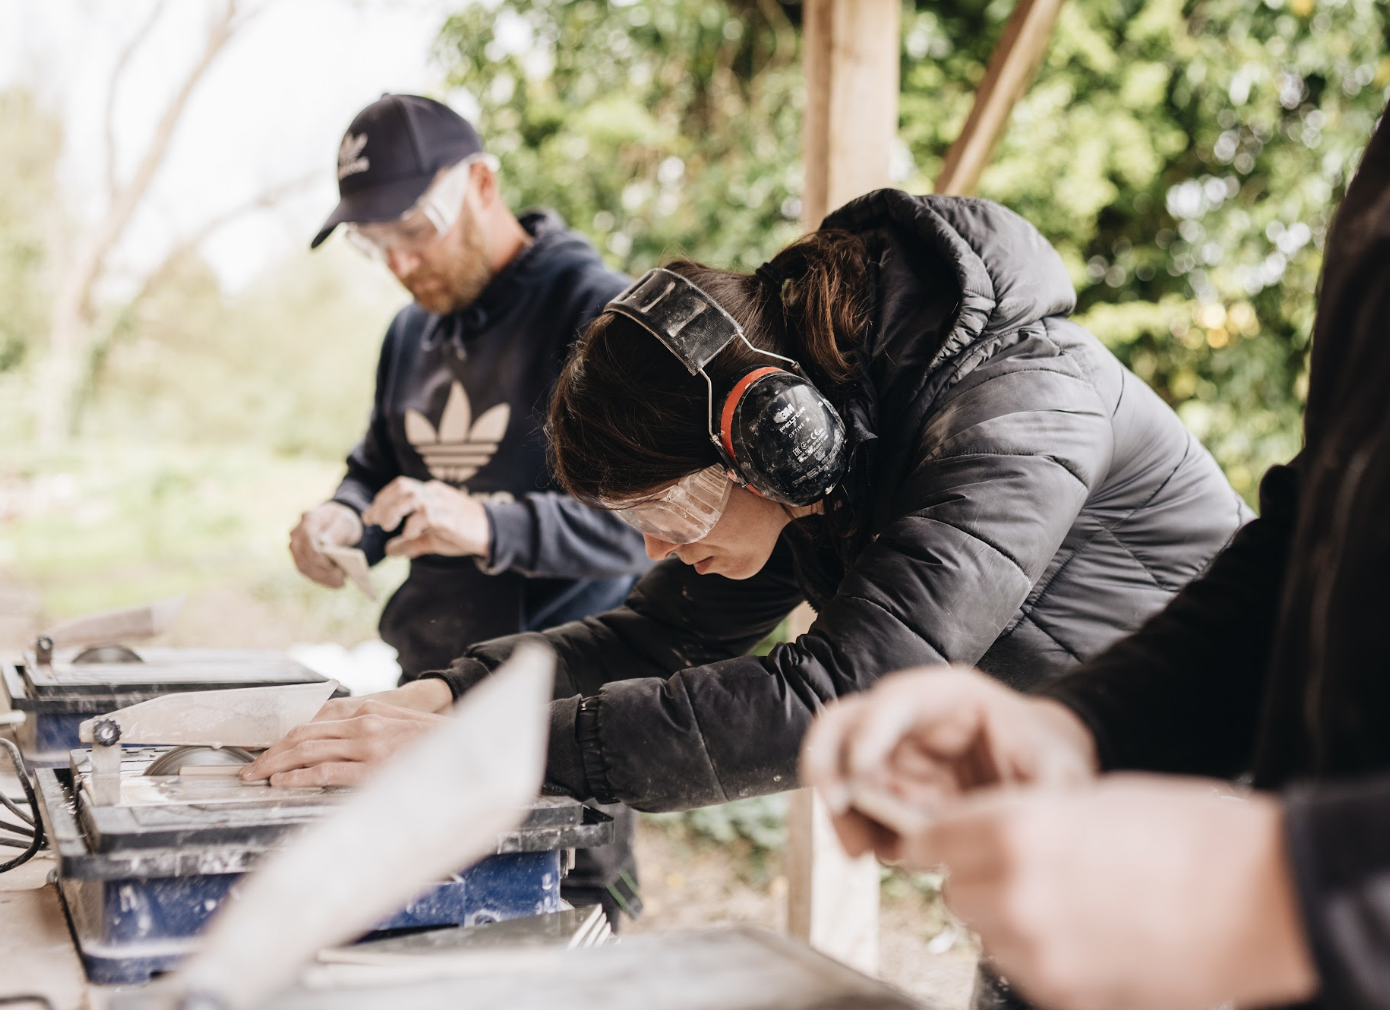
That said, if you are planning larger tiling work or want to build proper skills, learning from professionals can make a big difference. A hands on tiling course can help you understand not just regrouting, but tiling as a whole, including preparation, cutting and finishing techniques.
Regrouting tiles is one of the most effective ways to refresh a tired space. It improves both the appearance and the durability of your tiled surfaces without the cost of a full replacement.
With the right tools and a steady approach, it is a job most people can take on themselves. Start small, take your time and focus on getting each step right.
Once you have done it once, it becomes much easier the next time around.
Find the perfect course for you
Whether you're just getting started, or have a few years in the construction industry under your belt and are looking to up-skill yourself, we have a course for everyone.