How to Tile a Wall
How to Tile a Wall: A Step-by-Step Guide
Tiling a wall can transform a space, adding style and durability to bathrooms, kitchens, or any room in your home. Whether you’re tackling a DIY tiling project or aiming to master professional tiling skills, learning how to tile a wall correctly is essential for a flawless finish.
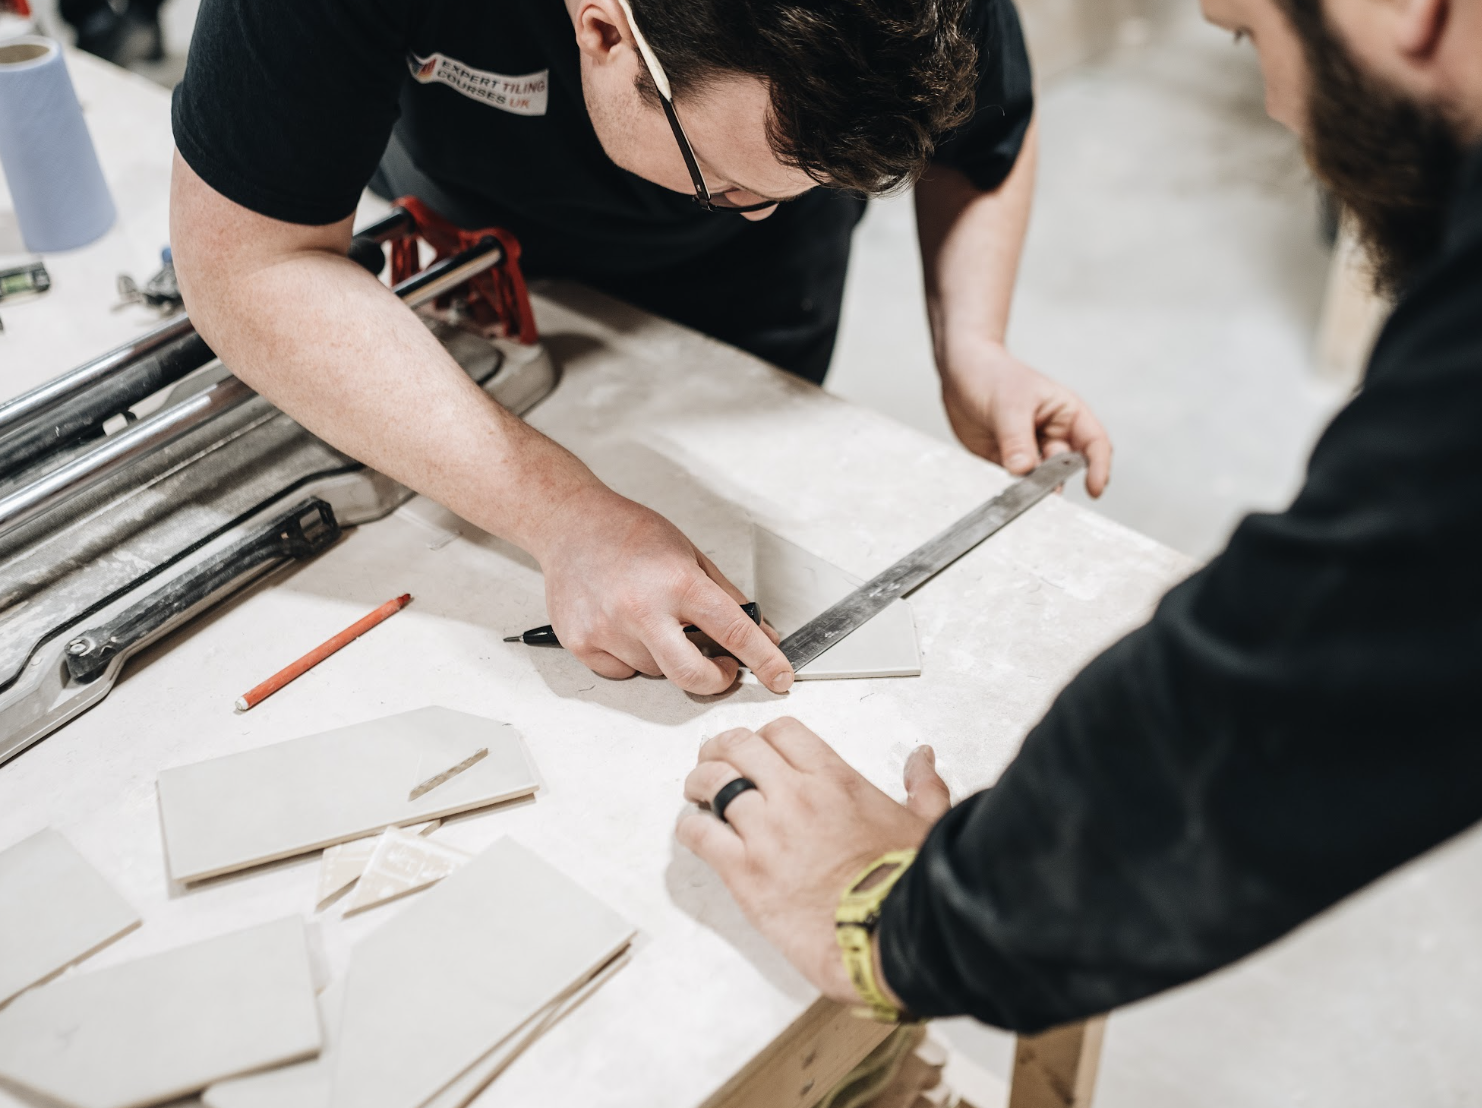
Today we’re providing a detailed, beginner-friendly walkthrough based on years of mastery in the tiling industry, in order to help you achieve professional results. From choosing the right wall tiles to perfecting your grout lines, we’ll cover every step, including essential tiling tools and techniques. For those looking to tile confidently and efficiently, Expert Tiling Courses UK offers the UK’s best reviewed tiling courses to ensure you start your tiling career off the right way and get prepared for almost any tiling challenge.
Why Tile a Wall?
Wall tiling enhances both aesthetics and functionality. Ceramic tiles and porcelain tiles are popular for their durability, water resistance, and ease of cleaning, making them ideal for bathroom wall tiling or kitchen splashbacks. Properly installed tiles can last decades, increasing property value and appeal. While DIY tiling can be rewarding, mastering techniques like precise cutting and grouting walls requires practice, which is where professional tiling training can make a difference.
Tools and Materials You’ll Need
Before starting your wall tiling project, gather these essential tiling tools and materials:
- Tiles: Choose ceramic tiles, porcelain tiles, or other wall tiles suited to your space (e.g., bathroom or kitchen).
- Tile adhesive: Select a ready-mixed or powdered adhesive compatible with your tile type and surface.
- Grout: Pick a colour and type (sanded or unsanded) for your grout lines.
- Tile spacers: For consistent gaps (typically 2–3mm).
- Tile cutter or wet saw: For precise tile cuts, especially for edges or corners.
- Notched trowel: To apply adhesive evenly.
- Spirit level and measuring tape: For accurate levelling and measurements.
- Tile nippers: For shaping tiles around fixtures.
- Grout float and sponge: For applying and cleaning grout.
- Batten or straightedge: To ensure a level starting point.
- Safety gear: Gloves, safety glasses, and a dust mask for cutting tiles.
- Primer and sealant: For surface preparation and finishing.
Always check your tiles are from the same batch to avoid colour variations, and calculate the number of tiles needed by measuring the wall area and adding 10% for cuts and breakages.
Step-by-Step Guide to Tiling a Wall
Follow these 12 steps to tile a wall, ensuring a smooth process and a polished result.
1. Plan Your Layout
Careful planning is key to successful wall tiling. While we teach our students an incredibly clever method of setting-out an entire bathroom in one go, including the cuts around windows, doors, baths and other obstacles, if you are just starting out on your DIY project and have a plain wall to tile, a good rule of thumb is to go for symmetry. Measure the wall’s height and width to calculate the number of tiles needed, accounting for grout lines. Mark the centre of the wall with a pencil and use a spirit level to draw a vertical and horizontal line, creating a cross. This helps you start tiling from the centre, ensuring symmetry and minimising awkward cuts at the edges. Consider a dry layout (placing tiles without adhesive) to visualise the design and identify where cuts will be needed.
2. Prepare the Surface
A clean, stable surface is critical for proper tile adhesion. Remove old wallpaper, paint, or loose plaster. Clean the wall to remove dust, grease, or debris. If the wall is uneven, apply a levelling compound and let it dry. For bathroom wall tiling, ensure the surface is water-resistant; apply a primer if needed. Check for pipes or electrical fittings and plan how to tile around them using tile nippers or a wet saw.
3. Set Up a Guide Batten
To keep your tiles level, fix a temporary wooden batten or straightedge along the horizontal line at the base of where your first row of full tiles will sit. Use a spirit level to ensure it’s perfectly horizontal. This batten acts as a guide to prevent tiles from slipping before the adhesive sets, especially for heavier porcelain tiles.
4. Mix and Apply Tile Adhesive
If using powdered adhesive, mix it according to the manufacturer’s instructions to achieve a smooth, lump-free consistency. Apply the adhesive to the wall using a notched trowel, covering a small area (about 1 square metre) to prevent it from drying out. Hold the trowel at a 45-degree angle to create even ridges, ensuring strong adhesion for your wall tiles.
5. Place the First Tiles
Start at the centre of the wall, using the marked cross as a guide. Press the first tile firmly into the adhesive, twisting slightly to secure it. Place tile spacers on either side to maintain consistent grout lines. Work outwards from the centre, checking each tile with a spirit level to ensure it’s aligned vertically and horizontally. Continue laying full tiles in rows, following the batten.
6. Cut Tiles as Needed
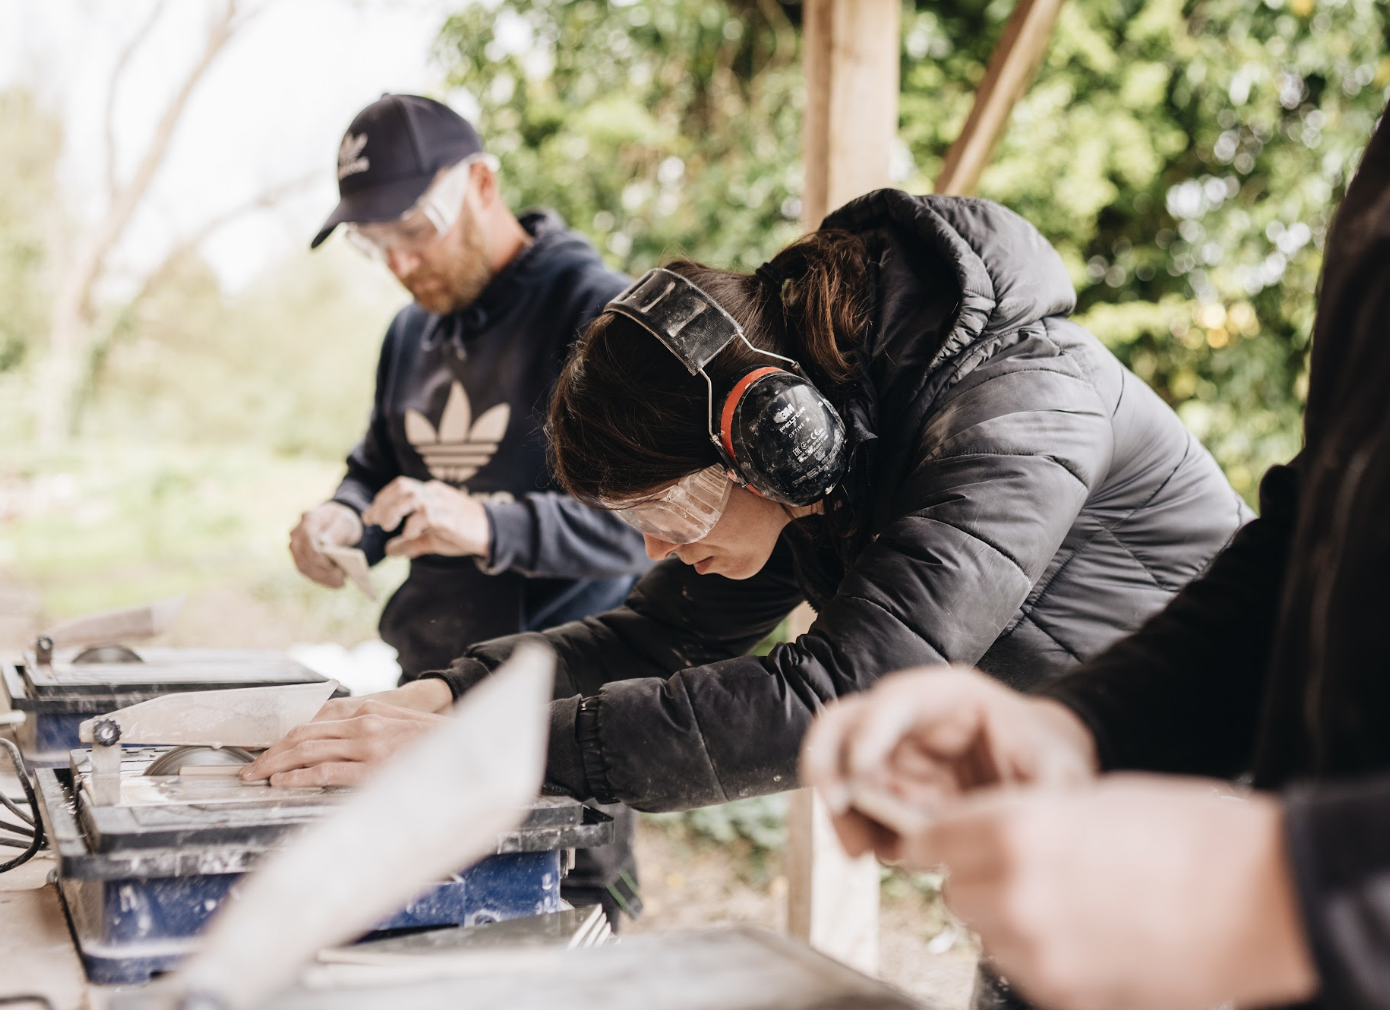
For edges, corners, or fixtures (e.g., sockets or pipes), measure and mark tiles for cutting. Use a tile cutter for straight cuts or a wet saw for precision, especially with porcelain tiles. Tile nippers are ideal for small, curved cuts around obstacles. Always wear safety glasses when cutting tiles, and double-check measurements to avoid waste.
7. Tile Around Obstacles
Tiling around fixtures requires patience. Measure and mark tiles to fit around pipes, sockets, or corners, using tile nippers or a wet saw for accurate cuts. Test-fit each tile before applying adhesive to ensure a snug fit.
8. Let the Adhesive Set
Allow the tile adhesive to dry for 24 hours (or as per the manufacturer’s instructions) before removing the batten and spacers. Avoid touching or cleaning the tiles during this time to ensure a strong bond. Check that all tiles are secure and level before proceeding to grouting.
9. Apply Grout
Mix grout according to the manufacturer’s guidelines, ensuring a smooth consistency. Using a grout float, apply grout over the tiles at a 45-degree angle, pressing it into the grout lines. Work in small sections to keep the process manageable. Remove excess grout with the float, then use a damp sponge to clean the tile surfaces, rinsing the sponge frequently.
10. Clean and Polish Tiles
After the grout sets (usually 20–30 minutes), wipe the tiles with a clean, damp sponge to remove any residue. Use a dry cloth to polish the tiles for a pristine finish. Avoid over-wetting the grout, as this can weaken it. For bathroom tiling, ensure the area is well-ventilated to aid drying.
11. Seal the Grout (Optional)
For areas prone to moisture, like bathrooms or kitchens, apply a grout sealant once the grout is fully cured (typically 48–72 hours). This protects grout lines from water and stains, extending the life of your wall tiling. Follow the sealant’s instructions for best results.
12. Inspect and Maintain
Check your tiled wall for any loose tiles or uneven grout lines. Regular maintenance involves cleaning tiles with a mild detergent and reapplying sealant every 1–2 years in high-moisture areas. Avoid abrasive cleaners that could damage ceramic tiles or porcelain tiles.
Common Mistakes to Avoid
- Poor Surface Preparation: Skipping cleaning or priming can lead to tiles detaching.
- Incorrect Adhesive: Using the wrong adhesive for your tile type or surface can cause failures.
- Uneven Tiles: Failing to use a spirit level or batten can result in misaligned tiles.
- Rushing Grouting: Applying grout too soon or over-wetting it can weaken the finish.
- Inaccurate Cuts: Double-check measurements to avoid wasted tiles or poor fits.
Take Your Tiling Skills to the Next Level with Expert Tiling Courses UK
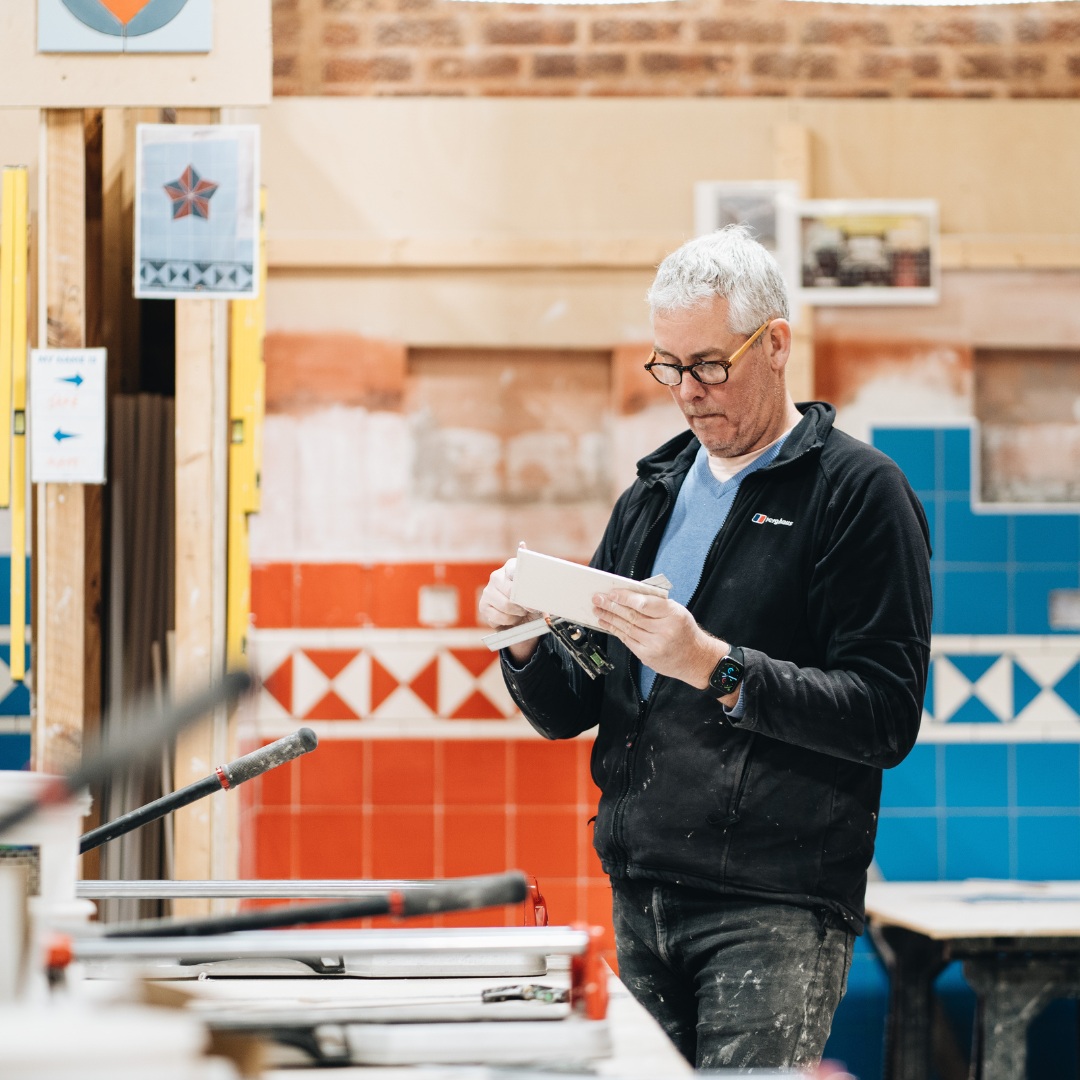
While this guide provides a solid foundation for how to tile a wall, achieving professional results consistently requires hands-on practice and expert guidance. At Expert Tiling Courses UK, our 4-day, 9-day, and 13-day intensive tiling courses in Newport, South Wales, teach you everything from surface preparation to advanced techniques like mitred edges and wetroom installations. With small class sizes, professional-grade tools, and expert tutors, you’ll gain the confidence to tackle any tiling project, whether for DIY or a career in professional tiling. Our purpose-built training centre ensures you learn in a real-world environment, mastering skills that go beyond basic wall tiling.
Ready to become a tiling pro? Book your spot on one of our tiling courses today and transform your skills with hands-on training.
Find the perfect course for you
Whether you're just getting started, or have a few years in the construction industry under your belt and are looking to up-skill yourself, we have a course for everyone.