Tiling around baths ensuring no leaks

In your tiling career, learning how to tile around a bath without leaks is a crucial skill you will likely need to employ on a regular basis. If tiling around or above a bath isn’t done properly, it can cause all kinds of problems such as water leaking through the ceiling below, or steam entering cracks and causing loose tiles over time.
The main issue in such a situation is caused by the natural flex in the bathtub itself. When full, an average size bath will contain somewhere in the region of 80 gallons of water. This converts into about 300 kilograms of weight (about the same as 4 adults standing in the bath)! This huge weight will cause a fibreglass or resin bathtub to flex or sag slightly. It can even make the floor the bath stands on sag under the full load of the water.
If you have fixed your tiles directly on to the top of the bathtub, then there isn’t enough room between the bath and the tiles for a proper silicone bead. When your customer fills the bath and it sags downwards slightly, it can split the silicone, which results in water getting down the back of the bath. Once this happens, the water can start to pool on the floor underneath the bath and eventually seep through to the ceiling below.
There is, however, a method you can use to avoid this. If you fill the bath with water before you start tiling, then the sag caused by the water weight is already accounted for. Once the bath is full, use some 2mm spacers, or even some plastic tile wedges, to begin your tiles 2mm above the top edge of the bath.
Once you have finished tiling your bath and your tile adhesive has fully dried, you can use a caulking gun to pump silicone in to completely fill the 2mm gap and finish by forming the silicone into a uniform and attractive bead. A good quality professional caulking gun and a well-designed profiling tool are essential to get that high-quality look in bathroom tiling.
A proper and substantial silicone bead is extremely flexible, especially under compression. That means that when the bathtub is emptied (remember to leave the water in the bath for at least 12 hours to let the silicone fully cure), the bathtub moves up slightly and compresses the silicone bead between the bath and the tiles.
One other thing that you should remember to do before you begin tiling is pump some silicone down the gap between the edges of the bath and the walls. This is a belt and braces but acts as another line of defence to stop water getting down the side of the bath in the event your primary silicone bead fails.
To ensure a professional finish in bathroom renovation, proper surface preparation is key before tiling around a bath. Check that the walls are flat and clean, as uneven surfaces can lead to misaligned tiles or weak adhesion. Use a spirit level to confirm the bath’s rim is horizontal, and sand down any rough patches on the wall. If the wall is plasterboard, apply a waterproof membrane or slurry to protect against moisture, as bathrooms are high-humidity areas. For acrylic or fibreglass baths, clean the rim thoroughly to remove soap residue or grease, ensuring the silicone sealant bonds effectively. When applying tile adhesive, use a notched trowel to spread it evenly, and choose a waterproof adhesive designed for bathroom environments to prevent long-term water damage.
Grouting around a bath also demands care to maintain a watertight seal and polished look. After the tile adhesive sets (typically 24 hours), consider applying a waterproof grout suitable for bathrooms, as standard grout may crack or absorb water over time. Use a rubber float to press grout into the gaps, working in small sections to avoid drying out. Clean excess grout from tiles with a damp sponge, and after 15-20 minutes, polish with a dry cloth for a neat finish. For the 2mm gap above the bath, avoid grouting here—rely solely on the silicone bead, as grout lacks the flexibility to handle the bath’s movement. Regularly inspect the silicone and grout every six months, reapplying the waterproof sealant if cracks appear, to ensure your bathroom tiling remains durable and leak-free.
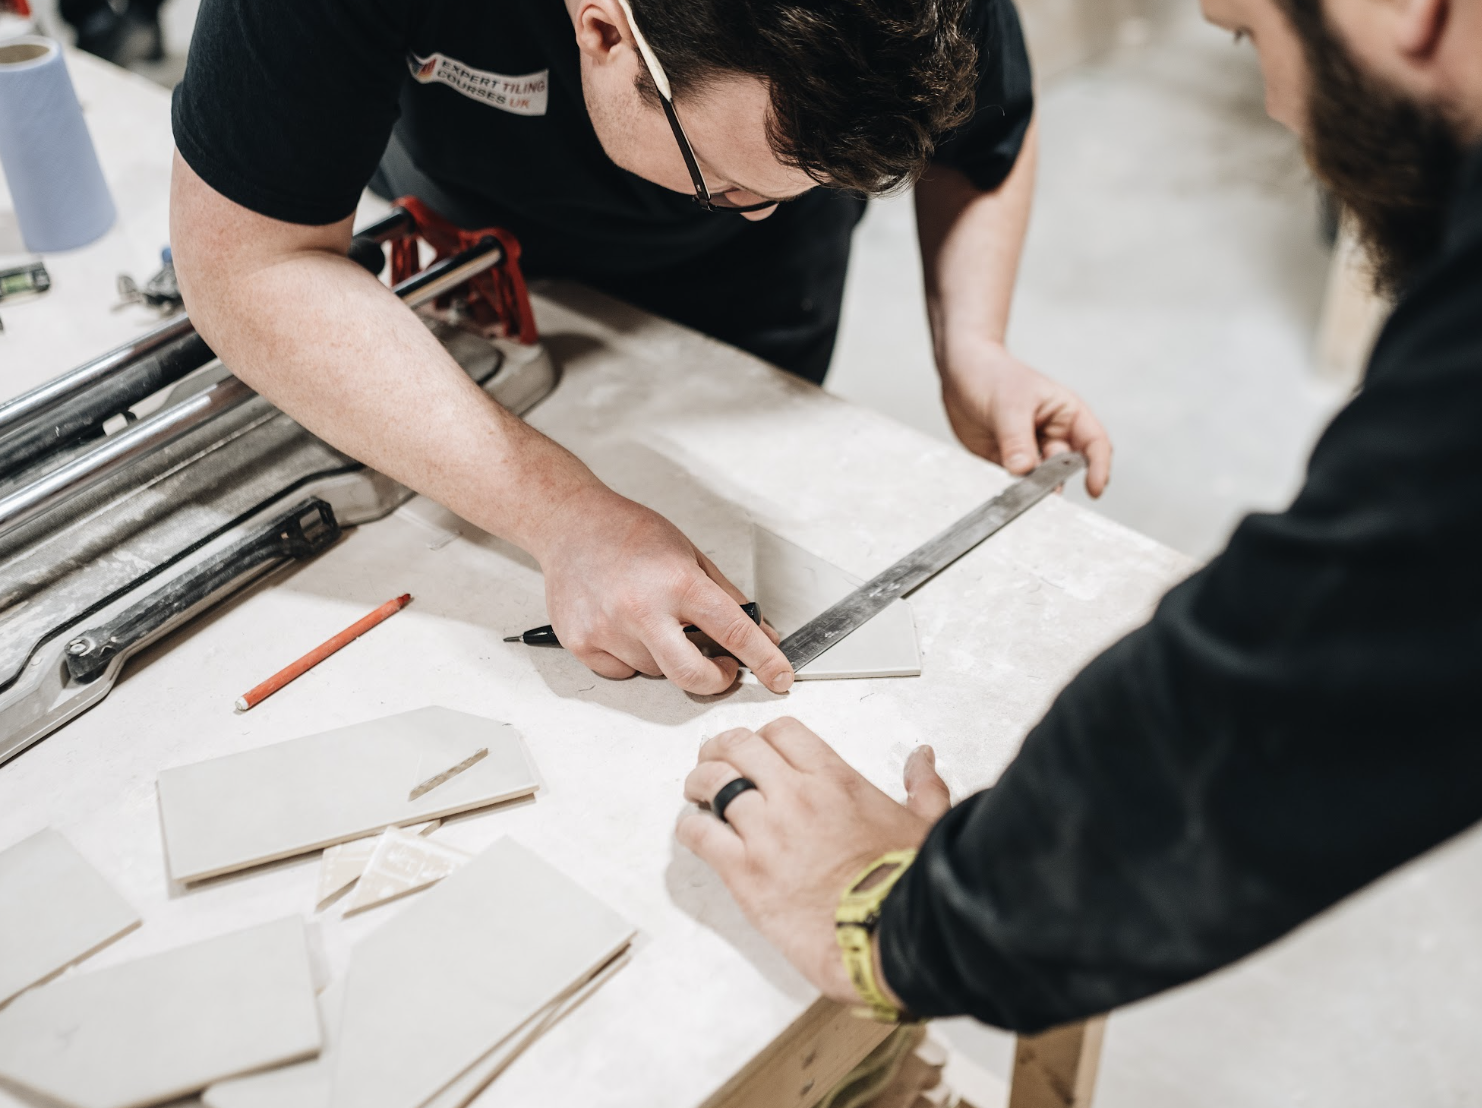
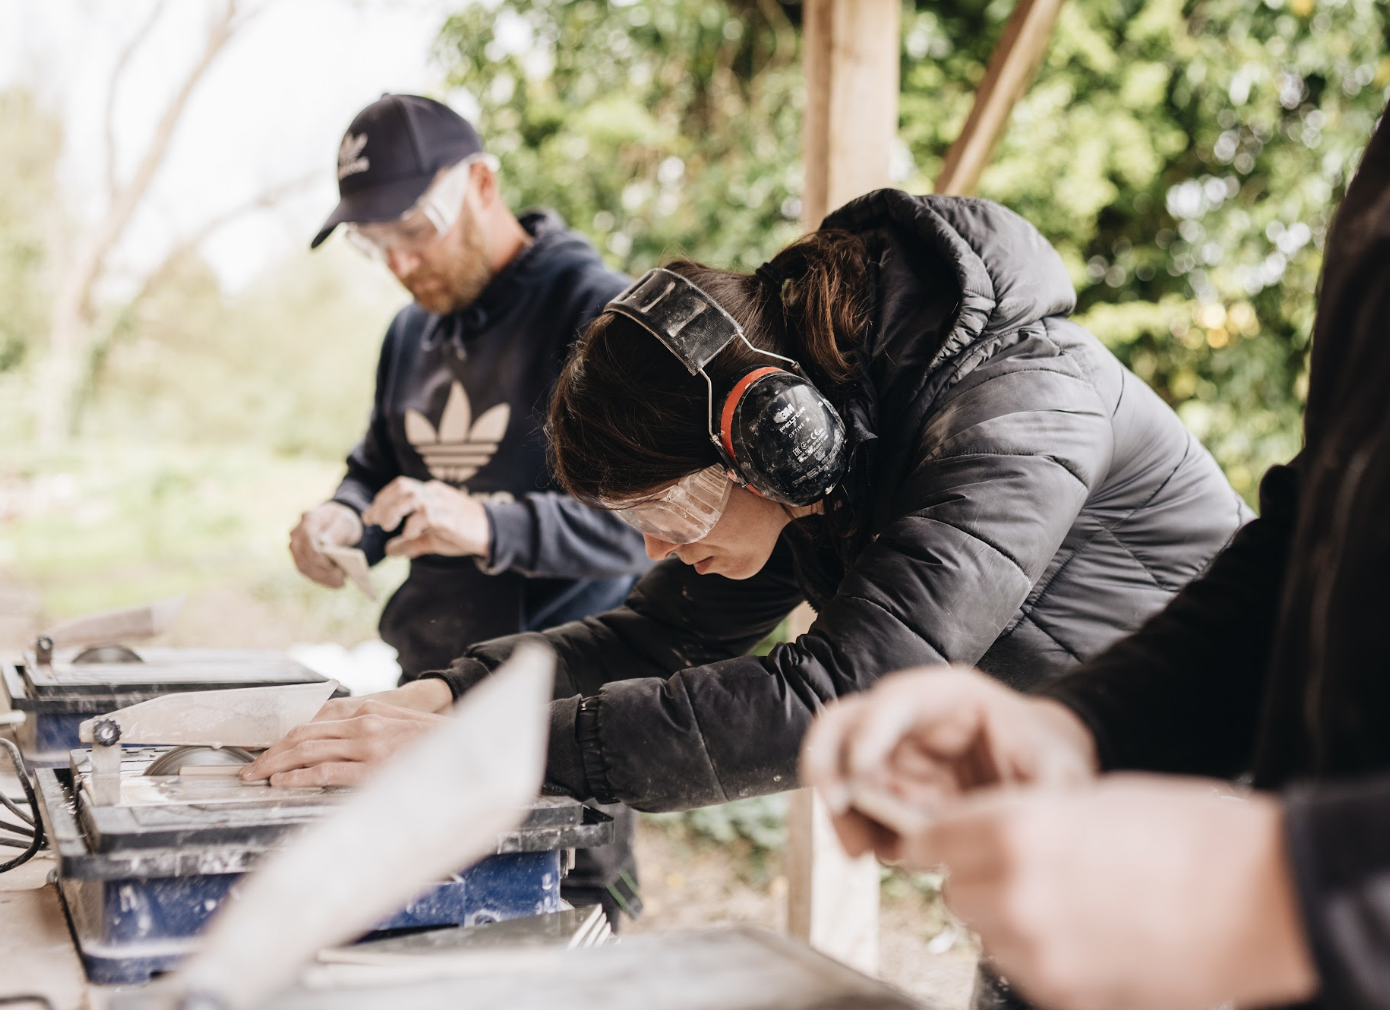
All of the above information, along with the tips and tricks to ensure leak-free bath tiling, are covered in our intensive tiling courses. If you’d like to book on to one of our carefully designed intensive tiling courses, or just have a question you’d like to ask, please give us a call on 0333 772 1933.
Find the perfect course for you
Whether you're just getting started, or have a few years in the construction industry under your belt and are looking to up-skill yourself, we have a course for everyone.