Tiling with metro tiles

Metro tiles, sometimes known as subway tiles, are rectangular ceramic tiles, usually with a bevel on all four edges. They are more popular now than they ever have been, and their use across domestic and commercial settings is extensive.
Their history dates back to the early 1900s when two American designers created the 3” by 6” rectangular white tiles, and they were used in the first New York subway station in 1904. These original metro tiles were flat, as this made them easy to install and maintain. However, over the years, the design has evolved slightly, and nowadays metro tiles usually have a beveled edge. This creates an appearance of depth to the tiles, which provides for more appealing aesthetics.
Modern manufacturing techniques, coupled with the enormous growth in popularity, mean that metro tiles are now available in a massive variety of sizes, colors, textures, and finishes. This means that kitchen splashbacks, downstairs toilets, or even full bathrooms all done in metro tiles will be very common jobs that professional tilers get asked to complete. Because they are most commonly made from ceramic, they are reasonably straightforward to install and can be fixed using most types of adhesive.
Picking your tiling bond pattern
Because of their rectangular shape, metro tiles work well for a number of tiling bonds (patterns); however, the original and most common bond is known as brick bond. Here are a few of the patterns that work well:
- Brick bond
- 1/3rd bond
- Vertical brick bond
- Stack bond
- 90-degree herringbone
- 45-degree herringbone
- Basket bond
Tiling with metro tiles in brick bond
Brick bond is essentially a 50% offset bond. This means that each horizontal row of tiles is 50% offset from the rows above and below it. Once you have your first row of tiles on the wall, you need to take a new tile and put a tape measure on it to establish the exact length of the tile. If you then put a mark on the tile at exactly the halfway point, you can now fix that tile to the wall on the second row, making sure your halfway mark is lined up with the grout joint on the row below. This gives you your 50% offset.
Continue to tile this second row ensuring that each tile is spaced correctly from the tile next to it, and this will maintain your 50% offset. Once the second row is complete, you repeat the process of finding the halfway point on another new tile and fixing it to the wall on the third row with the mark lined up with a grout joint on the second row. This third row is the same as the first row, and the fourth row will be the same as the second. Continue this process all the way up the wall, ensuring each row alternates from the last.
Wrapping your bond around corners
When tiling more than one wall in brick bond, it is best practice to wrap your bond around the corner. The general principle of a tiling wrap is that the tiles look as though they have folded around a corner, rather than the two walls being tiled independently of each other. You achieve this wrapped appearance by cutting your tiles in a way that looks like the two pieces of tile that meet in a corner appear to be from the same tile. For example, if you are using a 200mm long tile and you have put a 150mm cut piece into the corner on one wall, you would start on the second wall by placing a 50mm cut piece into the corner. This doesn’t need to be exact, but the closer the two pieces of tiles are to a full tile, the better the wrap looks. Consequently, the tiles on the rows above and below will be 50mm on the first wall and 150mm on the second wall due to the 50% offset nature of brick bond.
Confused? You needn’t be. If you attend one of our tiling courses, you will learn how we set this bond out to ensure that we can maintain our wraps into corners and avoid the need for unsightly tiny cuts.
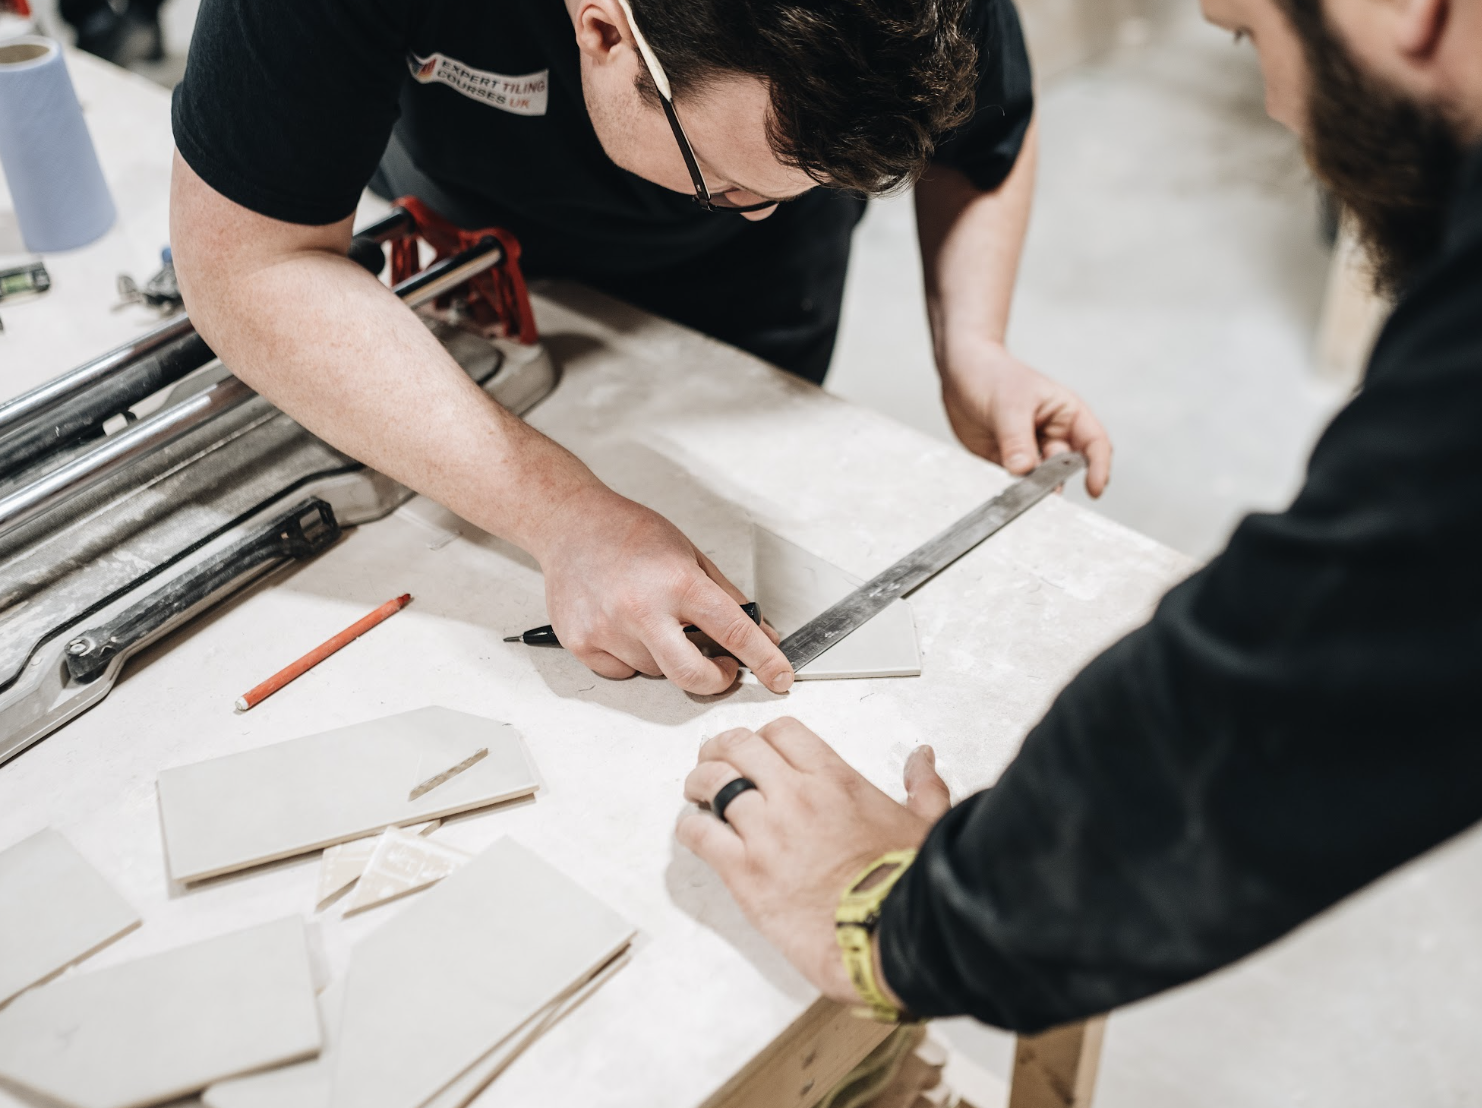
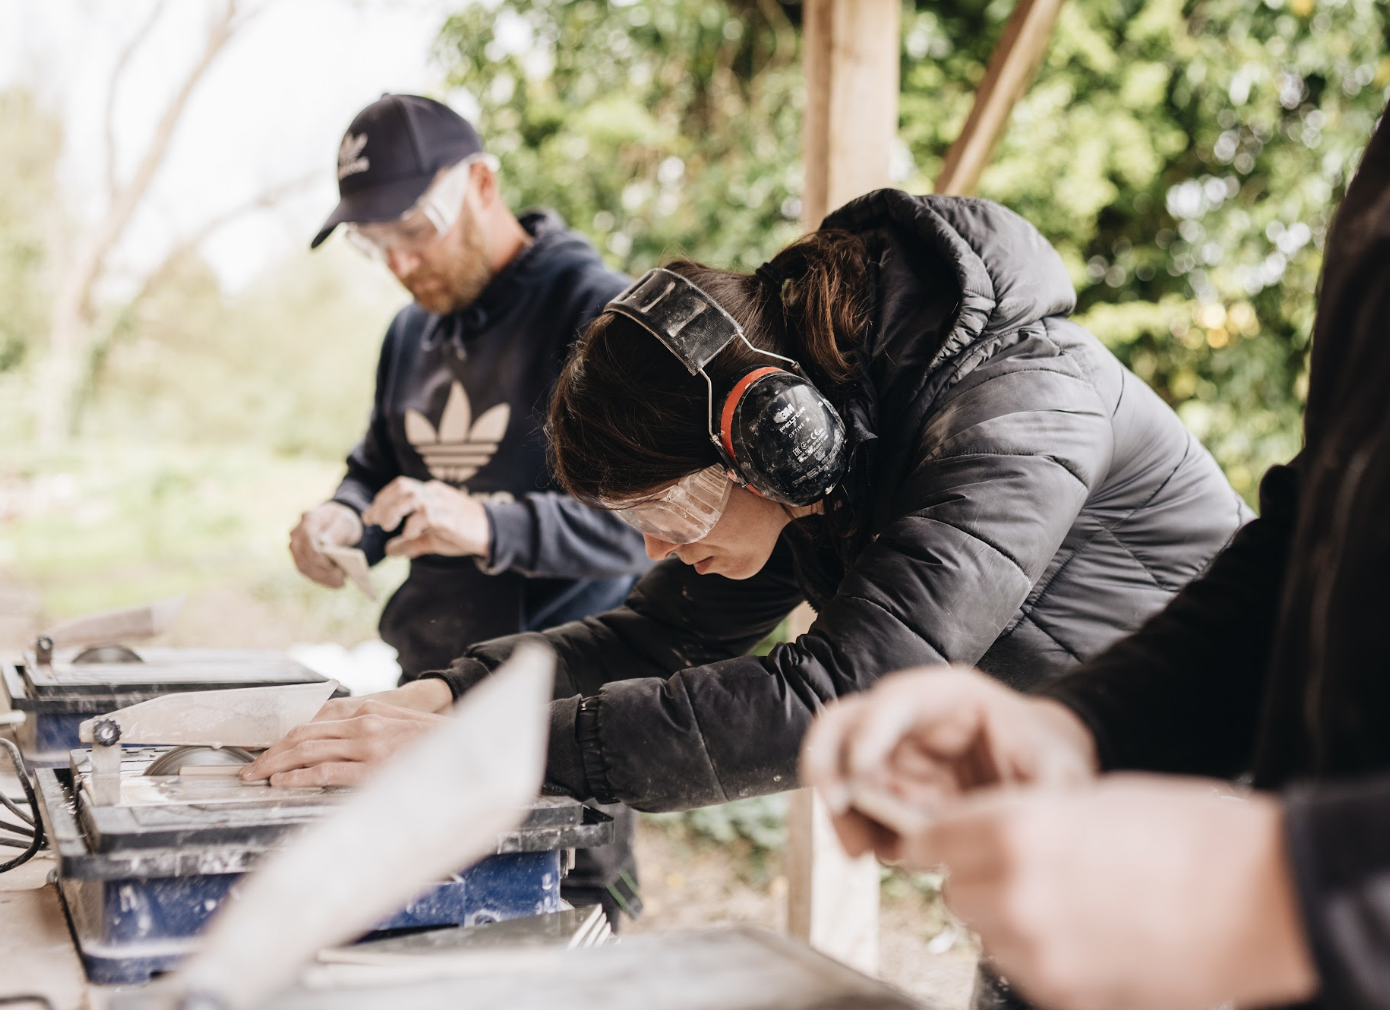
Cutting metro tiles
This is normally reasonably straightforward. Metro tiles are most commonly ceramic, which makes them simple to cut on a good quality manual tile cutter.
Grouting metro tiles
These tiles are grouted in the same way you grout any glazed ceramic or porcelain tiles, although a little more time and attention are needed during the washing-off process due to the beveled edge holding more excess grout which needs cleaning off. A good quality washboy system is essential.
Metro tiles are something that, as a tiling professional, you need to get to grips with – you will come across them very regularly! We can teach you all of the techniques needed to be confident in your tiling skills and knowledge on one of our tiling courses. On our 13-Day Expert Tiling Course, our students get hands-on with metro tiles and learn a number of the more complex tiling bonds, from brick bond to 45-degree herringbone.
Find the perfect course for you
Whether you're just getting started, or have a few years in the construction industry under your belt and are looking to up-skill yourself, we have a course for everyone.